Written by Daddy Cappuccino
10-minute read
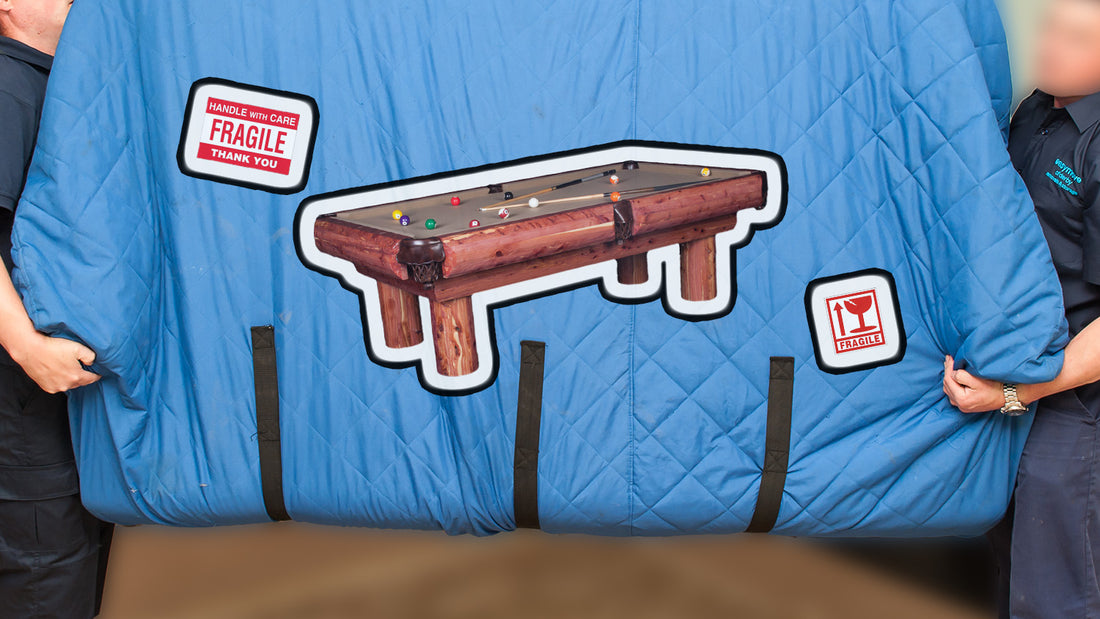
So, you've decided to embark on the challenging yet rewarding journey of moving your beloved pool table. Moving a pool table isn't child's play; it's more like a carefully orchestrated ballet. It requires the right moves, a keen sense of balance, and a dash of know-how. Don't worry, though; we're here to guide you through this endeavor step by step.
In this comprehensive guide, we'll share the secrets, tips, and wisdom needed to move your pool table safely and ensure it arrives at its new location unscathed. Whether you're a seasoned DIY enthusiast or a first-time pool table mover, we've got you covered. So, grab your tool belt, assemble your team, and let's dive into the art of moving a pool table.
Table of Contents
- Preparation
- Safety Measures
- Packing and Protecting
- Dismantling the Table
- Transporting the Table
- Reassembling the Table
- Conclusions
1. Preparation
Before we dive into the step-by-step process of dismantling your beloved pool table, let's take a moment to talk about the elephant in the room: moving it as one massive, assembled piece. While it might sound tempting to keep your table intact, especially if you're just moving it a short distance within your home, it's crucial to understand that moving a fully assembled pool table can be a high-stakes game. This approach is only recommended when you're moving it on the same floor, in close rooms, with plenty of space to maneuver. Even then, it's a risky venture. On the other hand, disassembling your pool table might take a bit more time and effort upfront, but it drastically reduces the risks associated with moving, ensures a smoother relocation, and protects your prized possession from potential damage during transit.
That being said, let's get our ducks in a row before we jump into the exciting task of moving your beloved billiards buddy. Preparation is the name of the game, and trust me, it'll make the whole process smoother than a perfectly executed bank shot.
So, where do we start? Well, it begins with gathering the right tools and materials. You'll need:
- Packing Supplies: moving blankets or furniture padding (these will become your table's cozy cocoon during the move), bubble wrap, packing tape, plastic bags, and some sturdy cardboard.
- Furniture Dolly: Your trusty sidekick for lifting and rolling.
- Tools of the Trade: Before you start unscrewing and unbolting, make sure you have the right tools for the job. You'll need a socket wrench, power drill, screwdrivers, pliers, and possibly a staple remover. Having a toolbox with various sizes of sockets and screwdriver bits is a smart move because pool tables can have different hardware.
- Tape Measure: Precision matters, especially when it comes to setting up.

Now, let's dive into the next section, where we'll talk about keeping you and your precious pool table in one piece.
2. Safety Measures
Now that we've got our tools ready and the lay of the land mapped out, let's chat about safety. Moving a pool table is no joke, and we want to keep both you and your beloved billiards beauty in tip-top shape.
Now that we've covered the essential safety precautions, let's move on to the nitty-gritty of dismantling your table with confidence.
3. Dismantling the Table
It's time to roll up those sleeves and dive into the heart of the operation – dismantling your pool table. This part of the process is crucial, as it lays the foundation for a safe and successful move.
Before diving into the dismantling process, grab a notepad and pen – taking detailed notes will be your best friend. While it might seem like you'll remember every nuance of your table construction, jotting down notes adds an extra layer of assurance and they'll make reassembly a breeze ensuring your table is back to perfection.

Remember, take your time, stay organized, and don't hesitate to ask for help when dealing with heavy parts. We're getting closer to enjoying some quality billiards time in your new space!
4. Packing and Protecting
Now that we've successfully dismantled the beast, it's time to ensure every piece makes it to your new game room unscathed. This is where our packing and protecting game needs to be strong.
First things first, gather your packing supplies. You'll need moving blankets or furniture padding, bubble wrap, packing tape, plastic bags, and some sturdy cardboard. The goal here is to protect every component from scratches, dings, or any unwanted surprises during transport.
Protecting the Slate
We'll begin with the heart of your pool table, the slate. Lay it flat on a set of sturdy moving blankets or padding. Ensure it's well-supported, with no overhanging edges. Cover the slate with another layer of padding and secure it with packing tape. The last thing you want is your slate rubbing against something and getting damaged during the move.
Securing the Rails
Next up, let's take care of those rails. Lay them out and wrap each one in bubble wrap. This not only provides cushioning but also protects the delicate wood from scratches. Once wrapped, secure the bubble wrap with packing tape.
Guarding the Frame
Your table's frame might not be as delicate as the slate or rails, but it's still worth protecting. Wrap it in moving blankets or padding, securing them in place with packing tape. If your frame has any intricate carvings or details, consider using cardboard or foam to shield these vulnerable areas.
Covering the Cloth
Remember that beautiful felt cloth we took off earlier? Lay it flat on a clean surface, ensuring there are no sharp objects or debris underneath. Cover it with a clean, breathable fabric, like an old bedsheet. Avoid plastic, as it can trap moisture and potentially damage the cloth.
Pack the Pockets and Accessories
Don't forget about those pockets and smaller accessories. Place them in plastic bags, and then pack these bags in a sturdy box. Label the box clearly to avoid any confusion during the unpacking process.
Label Everything
As you're packing, label each component and its corresponding parts. This will save you a ton of time and headaches when it's time for reassembly. Trust me; you'll thank yourself for this later.
Alright, we're almost ready to roll (literally). Let's head to the next section, where we'll delve into the actual move and share some tips to ensure a smooth and safe journey to your new game room. Stick with me, and we'll have that table up and running in no time!
5. Transporting the Table
Now that your pool table is disassembled and securely packed, it's time to tackle the challenge of transporting it to its new location. This is a critical phase of the process, and the choices you make here can greatly impact the safety of your table. When it comes to transporting a pool table, you essentially have two primary options: the DIY approach or hiring professional movers. Let's explore each option in more detail.
DIY (Do It Yourself): The DIY route can be enticing, especially if you're looking to save some money. However, before you decide to embark on this journey, there are several factors to consider:
- Short Distance: Moving a pool table to a room within the same house and on the same floor is a manageable task for a capable DIY enthusiast. It's crucial to have a few strong and dependable friends or family members to help with the heavy lifting. Even in these situations, you should exercise extreme caution to avoid injuries or damage to the table. Ensure you have the necessary equipment, including furniture sliders, dollies, lifting straps, and moving blankets, to protect both your table and the people moving it. Plan your route carefully, remove any obstacles in advance, and take your time to avoid accidents.
- Long Distance: If you're moving the table to an entirely different location, such as a new house or between floors, DIY becomes a much riskier proposition. Pool tables are incredibly heavy and cumbersome, and attempting to move them without the right equipment and expertise could result in costly damage or personal injury.

Professional Movers: Opting for professional pool table movers is a wise choice, particularly when faced with long-distance moves or relocations involving multiple floors. Here's why:
- Expertise: Professional movers specialize in handling pool tables, and they have the knowledge and experience to disassemble, pack, transport, and reassemble your table safely.
- Equipment: These experts come equipped with specialized tools and equipment designed for pool table moving, ensuring the protection of every component.
- Insurance: Reputable professional movers often carry insurance, so in the unlikely event of any damage during transport, your investment is protected.
When choosing between DIY and professional movers, consider the specifics of your move. If it's a relatively simple move within your current residence, the DIY approach can work with the right precautions. However, for more complex moves or when moving to a different location, the peace of mind and safety that professional movers offer are well worth the investment.
Now, let's delve into the crucial steps for reassembling your pool table in the following section.
6. Reassembling the Table
You've successfully navigated the challenges of moving your pool table safely, and now it's time to bring it back to life in your new space. Reassembling a pool table can be a bit like solving a giant three-dimensional puzzle, but with the right approach and patience, you'll have it ready for play in no time.
Here's a step-by-step guide to reassembling your pool table:
- Refer to Your Notes: Remember those detailed notes you took during the disassembly process? Now is the time to put them to good use. Retrieve your notes and follow them diligently. They'll serve as your roadmap for reassembly.
- Assemble the Legs: Start by attaching the legs to the table's frame. Ensure they are securely fastened and level. Use a carpenter's level to make sure everything is perfectly balanced. This step is crucial as it sets the foundation for the rest of the assembly.
- Install the Frame: Once the legs are in place, it's time to reattach the frame. Be meticulous in following your notes to ensure all components are correctly positioned and tightened.
- Felt Installation: Carefully unroll the felt over the slate playing surface. Make sure it's smooth and free of wrinkles. The felt should hang over the edges evenly.
- Attach the Rails: Next, reattach the rails to the table. Be cautious when positioning the rails, as they need to align perfectly with the pockets. Tighten the bolts securely, but avoid over-tightening, which could damage the wood.
- Balance and Level: Releveling your pool table is essential for a fair and accurate game. Use a carpenter's level on the slate and rails to ensure everything is perfectly even. Adjust the table's leg levelers until it's balanced.
- Pocket Installation: Reinstall the pockets, securing them tightly to the rails. Ensure they're correctly positioned to capture the balls.
- Inspect Thoroughly: Take a moment to inspect every component. Ensure all bolts are tightened, pockets are secure, and the felt is smooth and undamaged.
- Clean and Polish: Finish the reassembly process by cleaning and polishing your table. A clean, shiny surface not only looks great but also enhances gameplay.
- Test the Table: Before inviting friends over for a game, give your table a test run. Shoot a few rounds to ensure everything is in proper working order.
By following these steps and referring to your detailed notes, you'll have your pool table reassembled and ready for action. Remember, patience is key during this process. Rushing through reassembly can lead to errors, so take your time to get it right.
7. Conclusions
By now, you're armed with the knowledge needed to safely and efficiently move your beloved pool table. Remember, it's a precision task that demands careful planning, dismantling, and protection. Whether you're relocating it to another room or to a new home, opting for professional movers or going the DIY route, each step plays a vital role in preserving your pool table's integrity.
Prioritizing safety measures ensures that everyone involved is protected. So, get ready to embark on this exciting journey with your trusty pool table by your side.
Your next game awaits in your new space :)
🍻 Cheers to your billiards journey and see you in the next article!

